
Looking to add personality to blank walls? DIY wall art can change your living room without costing too much. We found that wall decorations are a great way to make your home feel more personal. But buying art or even printing and framing photos gets expensive fast.
The good news? You can tackle 48 budget-friendly DIY wall art projects on your own. This piece covers everything from beginner-friendly techniques to creative wall art ideas. These projects won’t break your budget and will help you unleash your inner artist with trendy, achievable results.
Let’s explore how to pick the right style, get affordable materials, and create eye-catching pieces that show off your personality. You can make bold statements or add subtle touches – these DIY wall art techniques will help you say goodbye to those blank walls for good.
Step 1: Choose the Right DIY Wall Art Style for Your Space
DIY wall art works best when it matches your living room’s unique character. Art adds the final beautiful touch to any home and makes the space truly yours. You might feel overwhelmed by all the choices at first, but you have many possibilities to work with.
Match your wall art to your room’s vibe
Your room’s intended feeling should guide your wall art creation. Different spaces need different moods:
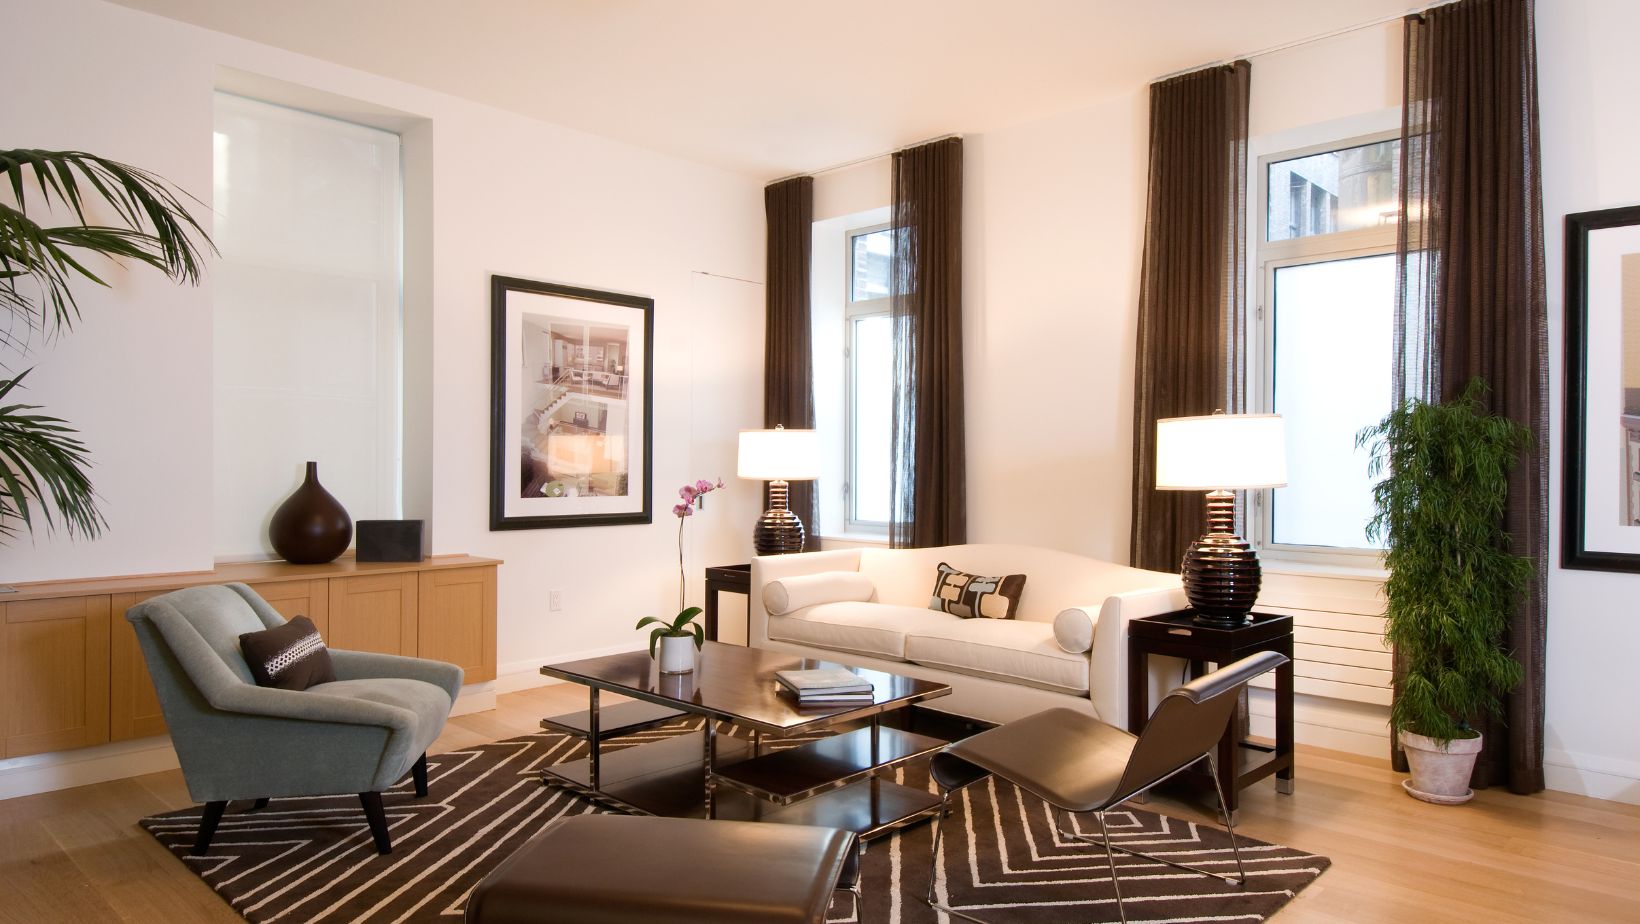
- Cozy & calming: Relaxing areas look great with warming neutral wall art that brings nature’s colors inside.
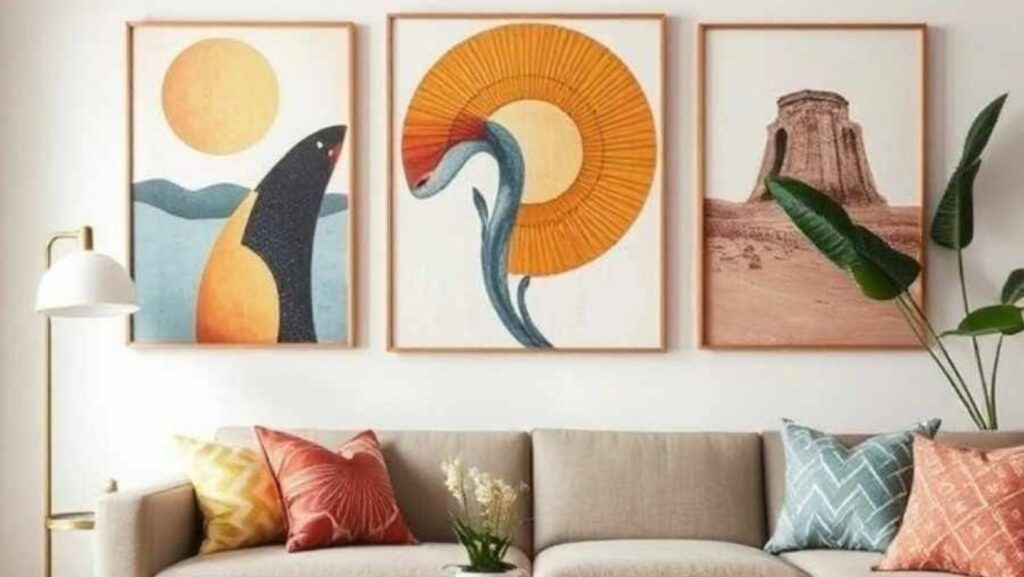
- Full of energy: Open-plan entertainment spaces need artwork that makes you smile—bold abstract shapes or botanical prints can breathe life into the room.
- Elegant & formal: Sophisticated spaces shine with a unique, personal standout piece that creates a focal point.
Let your room’s purpose guide your art choices. Bedrooms look best with peaceful landscapes that create tranquility, while dining rooms can handle bold, statement pieces that get people talking during meals.
Decide between abstract, photo-based, or text-based art
Each art style brings something special to your DIY projects:
Abstract art uses shapes, colors, and forms to create subjective work open to interpretation rather than depicting reality. It fits well in any room and starts great conversations. Abstract pieces let you play with colors that complement your existing decor.
Photo-based art adds realism to your space. You can frame personal photographs, create photo collages, or try making cyanotype sun prints. Photo art and abstract pieces create an interesting balance that adds depth to your display.
Text-based art turns words into visual art with powerful messages. This style gained popularity in the 1960s through Conceptual Art and Pop Art movements. Text art often tackles social issues or looks at how language creates meaning, which makes it perfect to create personal statements in your home.
Your happiness matters most. Pick DIY wall art styles that bring you joy and show who you are.
Step 2: Gather Materials and Tools You’ll Need
Beautiful DIY wall art begins with the right supplies. Your style choice will guide what materials you need. Let’s look at everything you’ll need to make your vision real.
Simple supplies for beginners
You’ll need some core tools to start your DIY art journey, whatever style you choose. Start by getting quality paintbrushes in different sizes—flat ones for wide strokes and fine-tip brushes for detailed work. A set of simple acrylic paints in primary colors lets you mix endless shades without filling up your storage.
If you’re looking for an easy way to create impressive artwork without needing advanced painting skills, you can learn more about painting kits that provide a pre-printed canvas, matching paints, and brushes so you can focus purely on the fun of painting.
For abstract art projects, you’ll need:
- Canvas or wood panels (pre-primed saves time)
- Palette knives for texture work
- Spray bottles for drip techniques
- Painter’s tape for creating clean edges
Photo projects need their own supplies like high-quality photo paper, adhesives, and mounting boards. Text-based art works best with stencils, letter stamps, or steady hands and fine-tipped markers.
A reliable scissors set, measuring tape, level, craft knife, and pencils are must-haves. These tools will prep you for almost any DIY wall art project you take on.
Where to find affordable or recycled materials
Smart shopping can cut your project costs substantially. Before hitting craft stores, check out thrift shops—they offer a wealth of frames, canvases, and unique materials at bargain prices. Discount stores also stock art supplies at great savings.
Your home might already have perfect materials waiting. Old magazines become colorful collage paper, and fabric scraps turn into beautiful textile art. Even those old clothes with cool patterns can become framed wall pieces.
Online marketplaces help you find people selling unused craft supplies at big discounts. Local buy-nothing groups on social media are also great for getting free materials from neighbors who are decluttering.
Nature gives you free art supplies—pressed leaves, interesting stones, or driftwood can make your art special. Mix these thoughtfully sourced materials with your creative ideas to create wall art that tells your story.
Step 3: Try These Stunning DIY Wall Art Projects
Want to add some artistic flair to your walls? These six DIY projects will help you create beautiful artwork without breaking the bank.
Spray-bottle drip art
Spray bottle art produces fascinating organic patterns that look perfect in modern spaces. Mix watered-down tempera paint or food coloring in colors that complement each other [111]. Your paper should hang vertically on an easel or fence. This setup lets gravity do its work and makes the process easier. The height and angle of your sprays will create different effects – spray from higher up for fine mists or closer for bigger droplets [111].
Modern melted crayon canvas
This eye-catching wall piece starts with crayons glued along the top edge of a canvas. You can arrange them in rainbow order or mix colors randomly – both options look stunning [122]. Let the glue dry and secure with painter’s tape. A heat gun works better than a hair dryer because it prevents splattering. Hold it at a 45-degree angle and move it horizontally across the crayons. Short bursts of heat will give you more control over the drips [122].
Framed vintage textiles
Turn ordinary fabrics into extraordinary art pieces by framing vintage scarves, family linens, or unique pillow covers [133]. Cut the seams from your chosen textile and leave the edges slightly frayed for character. The fabric should be centered in your frame and attached to the backing with super glue [133]. This method adds both texture and history to your wall decor.
Cyanotype sun prints
This historic photographic process creates beautiful blue-and-white artwork. Find objects with interesting shapes like flowers, ferns, or buttons and place them on photosensitive cyanotype paper in a shaded area [141]. The magic happens when you move everything into direct sunlight – the paper changes color in minutes on sunny days. A quick water rinse reveals the blue design, which you then let air dry [141].
Gold leaf abstract art
Start by drawing swirling patterns with a glue stick where you want the gold to appear [151]. Gold leaf sheets need careful handling as they break easily. Place them gently over the glue areas [151]. Once dry, shake extra gold leaf into a bag. The piece comes alive when you add texture using oil or acrylic paints mixed with structure gel. Blend colors to create depth [151].
DIY map cork board
Your travels become functional art with this cork board map. Join cork tiles with duct tape to create a base that fits your chosen map [161]. The map needs spray adhesive on the cork before you smooth it down section by section [162]. Different colored pins mark special places – your home, past adventures, and future destinations [164].
Step 4: Display and Maintain Your Wall Art
Your DIY wall art deserves the best presentation possible. The right display will improve your creative work and keep it beautiful over the last several years.
How to hang your art safely
Design experts recommend hanging artwork with its center 57 inches from the floor. This eye-level height works well whatever the size of your piece. The bottom edge should sit 8-10 inches above your sofa or bed when you hang art above furniture.
The safe way to install your art:
- Heavy pieces need wall studs – use an AC stud finder
- Start by marking your center point from floor level
- Gallery walls look better when you test the layout with kraft paper cutouts first
Pick the right hardware based on weight. Lightweight pieces need sawtooth hangers, medium frames work with D-rings, and substantial artwork calls for wire systems or French cleats.
Tips for rotating or updating your wall decor
You can refresh your living space with a seasonal art rotation plan. This helps you stay excited about your artwork instead of letting it fade into the background. Keep your seasonal pieces safe in labeled containers and protect frames with acid-free paper between them.
The sort of thing I love is matching wall art with seasonal textiles – light fabrics work great for summer displays and warm textures suit winter arrangements. A simple frame change can refresh existing artwork without replacing it completely.
Making renter-friendly choices
Smart options that protect your walls:
- Command strips and hooks hold up to 16 pounds of art without damage
- Leaning art creates sophisticated layers when placed against walls on furniture
- Tension rods support lightweight pieces without holes
- Washi tape makes a relaxed statement with unframed prints
Renters can create customized spaces while keeping their security deposits safe. Remember to check adhesive hangings now and then to make sure everything stays secure.
Conclusion
DIY wall art can turn empty walls into custom statements that won’t break the bank. By picking the right style, using affordable materials, and trying simple techniques, you can achieve amazing results without any artistic experience.
The beauty of DIY wall art goes beyond the final piece—it’s about the creative journey. Each project reflects your personality, from abstract designs to meaningful photos or inspirational quotes. Your home, thrift stores, and discount shops hold a wealth of materials ready to be transformed into unique decor that store-bought pieces can’t match.
Your living room’s walls are blank canvases waiting for your touch. Start small, and soon you’ll have pieces that tell your story. Nothing beats saying “I made that” when guests admire your space.